Easy Origami Dragon Bookmark: Jo Nakashima Tutorial
Origami Dragon Bookmark tutorials can lead to a truly magical creation! Imagine a fierce, yet elegant dragon perched on the edge of your book, its scales intricately folded and its tail gracefully curling. This delightful design by Jo Nakashima is perfect for anyone looking to add a touch of fantasy to their reading. It’s a fantastic project for those who are fairly new to origami, maybe taking around 30-60 minutes to complete, and it makes an absolutely wonderful personalized gift or a charming little decoration for your desk.
In this tutorial, you’ll learn essential folding techniques to bring this mythical creature to life. We’ll guide you step-by-step, from the initial folds to the final, impressive details of the dragon’s head and wings. Get ready to transform a simple sheet of paper into a loyal, paper-winged companion for your favorite stories!

This is a fantastic origami project! Jo Nakashima’s origami dragon bookmark is a popular and rewarding design. I’ll guide you through every step, making sure you understand each fold so you can create a beautiful dragon.
Origami Dragon Bookmark: A Step-by-Step Guide
This origami dragon bookmark is a wonderful project for beginners and experienced folders alike. It’s satisfying to see the fierce dragon emerge from a simple sheet of paper, and it makes a unique and thoughtful gift or a personal addition to your favorite book. We’ll be focusing on clarity and precision, so don’t worry if you’re new to origami; I’ll explain everything in a way that’s easy to follow.
Choosing Your Paper
The type of paper you choose can significantly impact the look and feel of your origami dragon. For this specific model, a standard origami paper is ideal.
- Type: Origami paper, also known as kami, is specifically designed for folding. It’s thin, strong, and holds creases well. You can also use regular printer paper if that’s all you have, but it will be a bit thicker and harder to fold precisely, especially for beginners.
- Weight: Standard origami paper is usually around 70-80 gsm (grams per square meter). This weight is perfect for intricate folds without being too flimsy or too bulky. If you use thicker paper, the model might become too stiff.
- Size: A 6-inch (15 cm) square is the most common and recommended size for this dragon bookmark. This size is manageable for beginners and results in a bookmark that’s a good fit for most books. You can certainly try larger or smaller squares, but the proportions might change slightly.
- Single or Double Sided: For this dragon bookmark, using single-sided paper is best. This allows one side to be a solid color (or a pattern) for the dragon’s scales, while the other side can be a contrasting color for the inner parts of the dragon, like its mouth or belly. If you use double-sided paper, both sides will show the same colors, which can still look great, but single-sided offers more visual interest and depth.
Understanding the Base Folds
Before we dive into the dragon itself, let’s get comfortable with a couple of fundamental folds that are crucial for clean results.
The Valley Fold
This is the most basic fold. You bring one edge or corner to meet another edge or corner, and the crease runs *into* the paper, like a valley. To make a valley fold cleanly:
- Align the edges or corners you are joining as perfectly as possible.
- Once aligned, run your finger or fingernail firmly along the crease from one end to the other.
- It’s helpful to make these folds as sharp as possible from the start, as they will form the structure of your dragon.
The Mountain Fold
This is the opposite of a valley fold. The crease runs *away* from you, like a mountain peak. When making a mountain fold, you’ll often be reversing a valley fold.
- To make a mountain fold, you can first make a valley fold, then unfold the paper, and then push the crease inward so it sticks up like a mountain.
- Alternatively, you can sometimes fold directly into a mountain fold by carefully bringing edges together and creasing outwards.
- For this tutorial, I’ll guide you when to make valley and mountain folds.
The Fold Sequence: Let’s Build Your Dragon!
We’ll start with a square piece of paper, colored side up if you’re using single-sided paper.
1. Begin with your square piece of paper, colored side up.
2. Fold the paper in half diagonally, bringing the bottom left corner up to meet the top right corner. Crease well. Unfold.
3. Now, fold the paper in half diagonally the other way, bringing the bottom right corner up to meet the top left corner. Crease well. Unfold. You should now have an ‘X’ crease on your paper.
4. Flip the paper over so the white side is facing up.
5. Fold the paper in half horizontally, bringing the bottom edge up to meet the top edge. Crease well. Unfold.
6. Fold the paper in half vertically, bringing the left edge over to meet the right edge. Crease well. Unfold. You should now have a ‘+’ crease pattern on the white side.
7. Now, let’s collapse the paper into a preliminary base. Gently push the left and right edges inwards along the horizontal crease. As you do this, the top and bottom points will come together. Flatten the paper into a square. This is called a preliminary base. The open edges should be at the bottom.
8. With the open edges of the square pointing towards you, take the top flap of the right side and fold its bottom edge to meet the center vertical crease. Crease well.
9. Repeat step 8 with the top flap of the left side, folding its bottom edge to meet the center vertical crease. Crease well. You should now have two triangular flaps meeting in the middle.
10. Fold the top triangular point (the one formed by the two flaps you just folded) downwards, so its tip touches where the two diagonal edges meet at the bottom. Crease well.
11. Unfold steps 8, 9, and 10. You’ll see creases forming a diamond shape on the top layer.
12. Now, we’re going to perform a petal fold. Lift the bottom point of the top layer only. As you lift, use the creases you just made. The sides will naturally want to fold inwards along those diagonal creases. Bring the point upwards, flattening the sides inwards to form a kite shape on top. This is a petal fold.
13. Flip the entire model over.
14. Repeat steps 8 through 12 on this side. You should now have a kite shape on both sides. This is the bird base.
15. With the bird base in front of you, the open ends of the kite shapes are at the bottom. Take the right flap of the top layer and fold its outer edge to meet the center vertical crease. Crease well.
16. Repeat step 15 with the left flap of the top layer, folding its outer edge to meet the center vertical crease. Crease well.
17. Flip the entire model over.
18. Repeat steps 15 and 16 on this side. You should now have a narrower kite shape on both sides, with two “legs” at the bottom.
19. Look at the bottom of the model. You have two “legs.” We need to prepare these to become the dragon’s head and tail. Take the right “leg” and fold it upwards and slightly to the right, at an angle. This will form the tail. Make a crease.
20. Take the left “leg” and fold it upwards and slightly to the left, at an angle. This will form the head. Make a crease.
21. Now, we’re going to do an inside reverse fold on both the head and tail. For the tail (the right leg you just folded), open it slightly. Push the point inwards along the crease you just made, so it folds inside the model. Close the model back up.
22. Repeat step 21 for the head (the left leg). Open it slightly, push the point inwards along its crease, and fold it inside. Close the model back up.
23. Now we need to shape the head. Look at the point you’ve designated as the head. We’re going to make a small inside reverse fold to create the snout. With the head point facing you, open it slightly and fold the very tip inwards, about a quarter of an inch, to create a slight angle. Then, reverse fold this small section so it tucks inside. This forms the dragon’s snout.
24. Now, let’s shape the wings. Look at the sides of the model. You’ll see two points sticking out on each side. Gently fold these downwards, at an angle, to create the dragon’s wings. You can adjust the angle to your liking.
25. To make the dragon stand up better, you can gently curve the wings upwards and inwards.
26. Finally, to make it a bookmark, you can slide the body of the dragon over the top of a page in your book. The wings will hold it in place.
Common Beginner Mistakes and How to Avoid Them
Even experienced folders make mistakes, so don’t get discouraged! Here are a couple of places beginners often stumble and how to get past them.
- Inaccurate Base Folds: The preliminary base and bird base are the foundations of this model. If these aren’t precise, the rest of the folds will be off.
- To Avoid: Take your time with the initial diagonal and horizontal/vertical folds. Make sure corners meet corners and edges meet edges perfectly. Press firmly to create sharp creases. Don’t rush the collapsing of the preliminary base; gently guide the paper into position.
- Hesitation with Inside Reverse Folds: The inside reverse folds for the head and tail can be tricky because they involve tucking a fold inside the model.
- To Avoid: These folds require a bit of practice. Don’t be afraid to gently open up a section to see where the crease should go. Imagine you are ‘inverting’ the fold. If it doesn’t look right the first time, unfold it and try again. It’s sometimes easier to make a light crease first where you want the fold to happen, then perform the inside reverse fold along that crease.
Varying Your Dragon Bookmark
The beauty of origami is its versatility. You can easily customize your dragon bookmark!
- Size: As mentioned, using different sized squares will change the final size. Larger squares will create bigger dragons, and smaller squares will make more delicate bookmarks. Just remember that smaller paper can be trickier for intricate folds.
- Paper Pattern: This is where you can really get creative!
- Patterned Origami Paper: Look for paper with dragon scales, flames, or even metallic sheens for a truly magical effect.
- Decorative Papers: Washi tape, scrapbook paper, or even gift wrap (if it’s not too thick) can be used. Just ensure it’s square and not too heavy.
- Hand-Drawn Designs: You can draw your own patterns or symbols onto plain paper before you start folding.
- Color: Don’t be afraid to experiment with different color combinations. A bright red dragon, a deep green one, or even a multi-colored dragon can look fantastic. Single-sided paper is perfect for this, allowing you to have a vibrant exterior and a more subtle interior.
Displaying and Gifting Your Dragon Bookmark
Once your dragon is complete, it’s more than just a bookmark; it’s a piece of art!
- In Books: Obviously, the primary purpose is to mark your page. The dragon will peek over the top of your book, adding a touch of fantasy to your reading.
- As Decorations: You can use a small dab of glue or double-sided tape to attach your dragon bookmark to a wall, a shelf, or even a bulletin board. It makes a charming little decoration.
- In a Gift Box: Present your dragon bookmark in a small, decorative box along with a new book. It’s a thoughtful and personalized gift for any book lover or origami enthusiast.
- As a Keychain (with modifications): While this specific design isn’t ideal for a keychain as is, with a slight modification (like adding a loop before the final folds), you could potentially adapt it for a more robust display.
- Party Favors: Make a batch of these for a fantasy-themed party or a child’s birthday. They make unique and memorable party favors.
I hope this detailed walkthrough has been helpful. Remember, the key to origami is patience and practice. Enjoy the process of bringing your paper dragon to life!
Conclusion
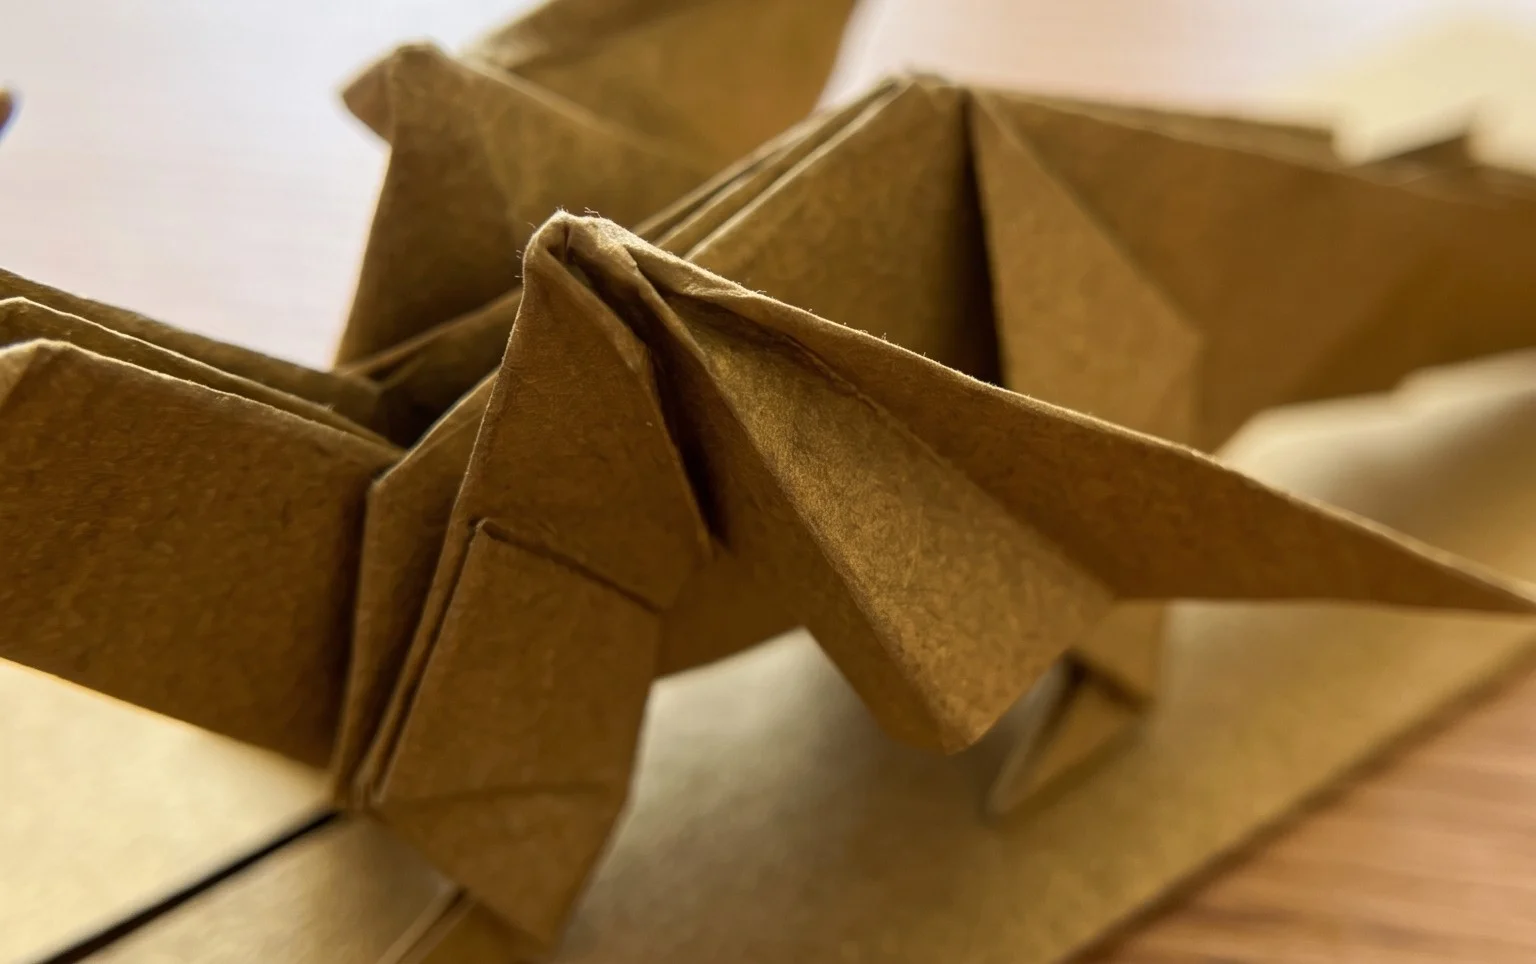
Congratulations on completing your amazing origami dragon bookmark! We hope you enjoyed folding along with Jo Nakashima’s tutorial. Don’t be discouraged if your first attempt isn’t perfect; every fold is practice, and you’ll become more confident with each new creation. We’d love to see your finished dragon bookmark, so feel free to share it with friends and family!
Ready to fly even higher? Try creating a dragon bookmark in a different colored paper, or perhaps even attempt a slightly larger scale for a more dramatic effect. As you continue your paper folding adventures, remember to explore all the incredible paper projects available. Happy folding!
